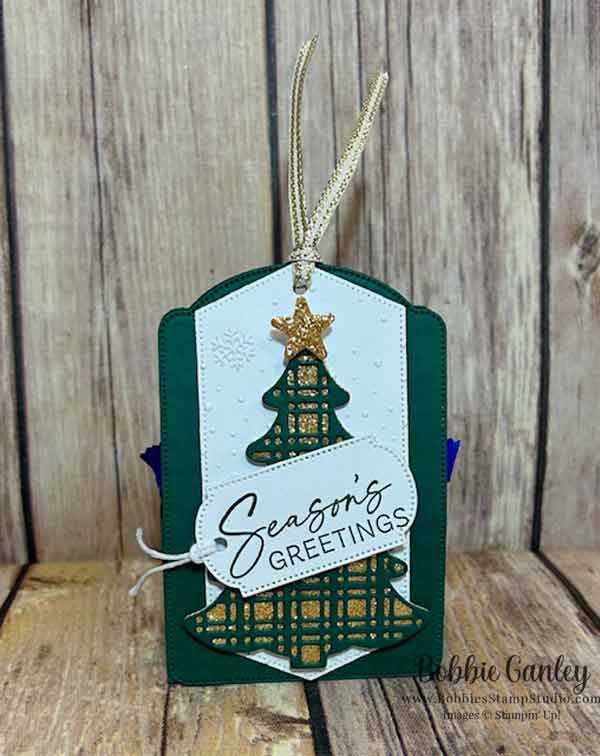
A simple treat holder for the Christmas holidays using the Decorative Trees bundle.
Did you know that my favorite bundle from the 2024 September – December catalog is the Decorative Trees bundle? My favorite time of year to make treat holders is Christmas. I used the Decorative Trees bundle to create an easy treat holder. This treat holder is easy to create. It’s basically two tags adhered to a small open topped box. The box is 2 ½” x 1” x 1 ½” and can hold a good amount of goodies. This would be a great teacher, co-worker gift, or a sweet addition to your holiday table with one of these sitting at every plate. See the instructions below the picture. If you like this theme, check out the past 2 weeks projects which used the same sets. A sparkly Christmas Tree card and an elegant Christmas Tree card.
Supplies:
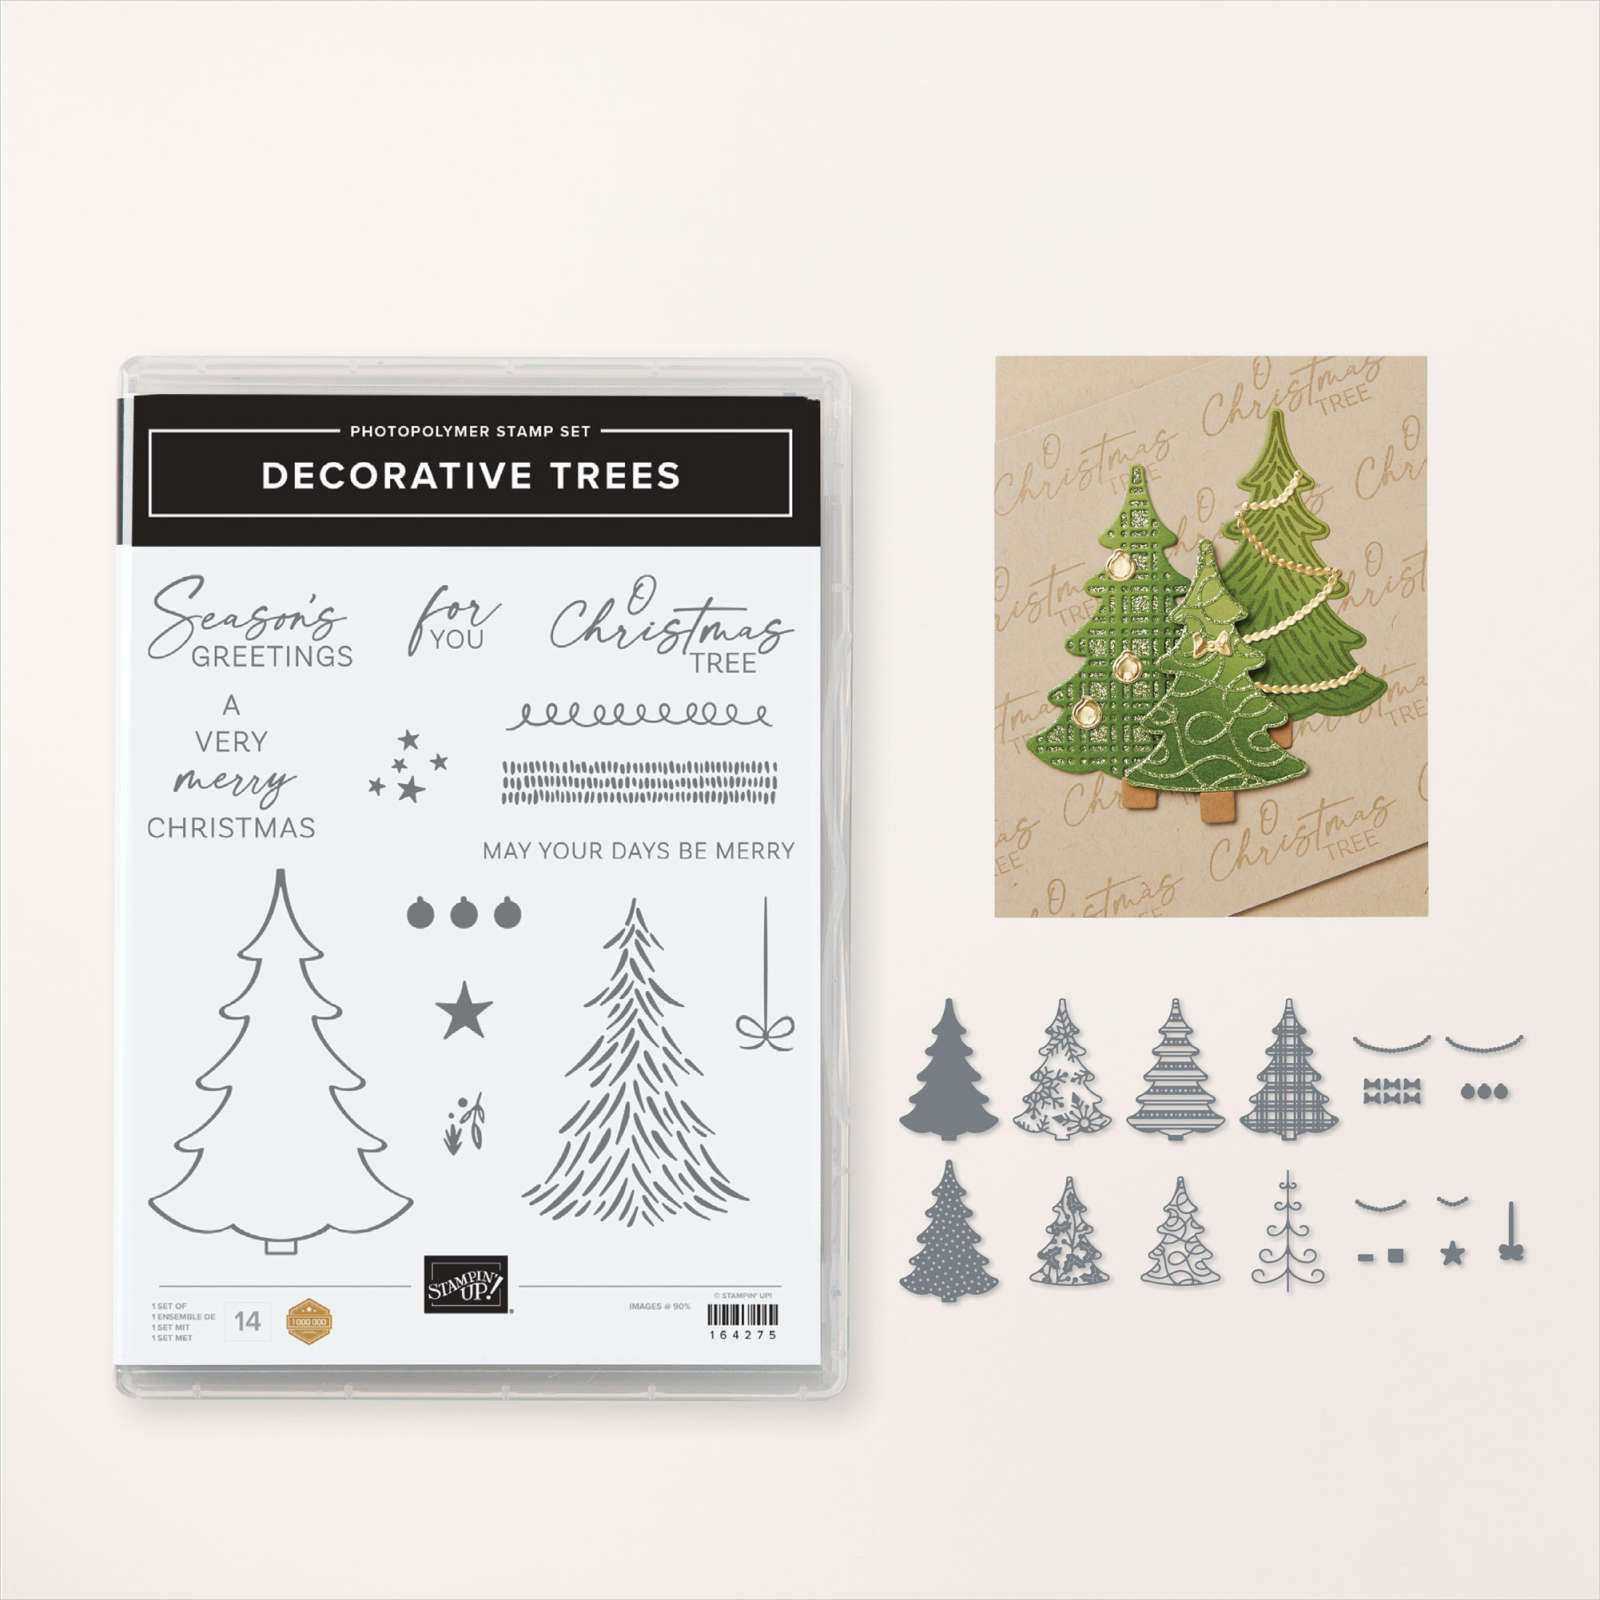
- Stamp Set – Decorative Trees
- Card Stock – Basic White; Shaded Spruce
- Stamp Pads – Shaded Spruce
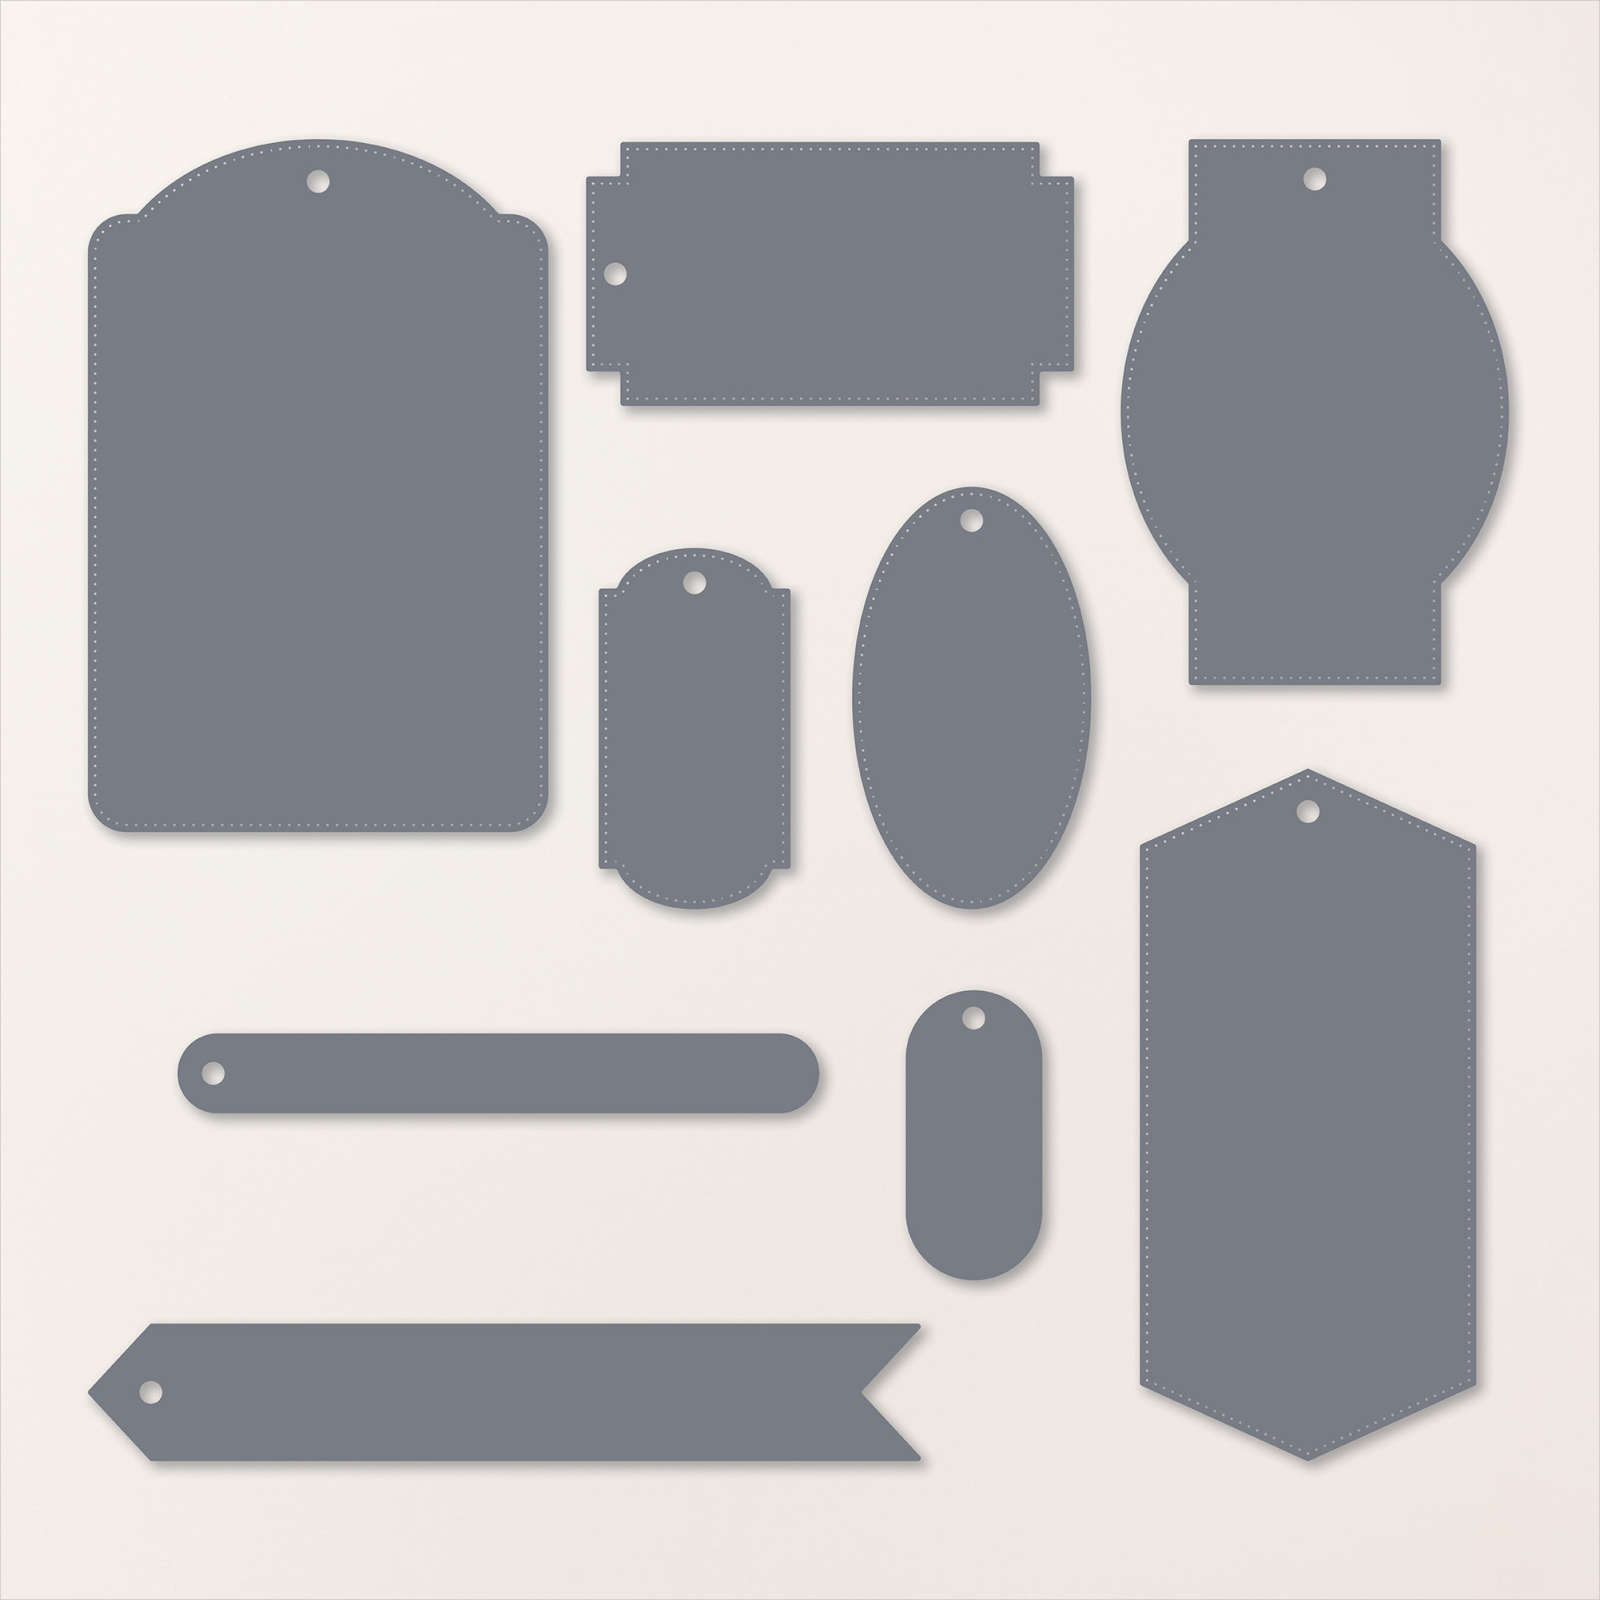
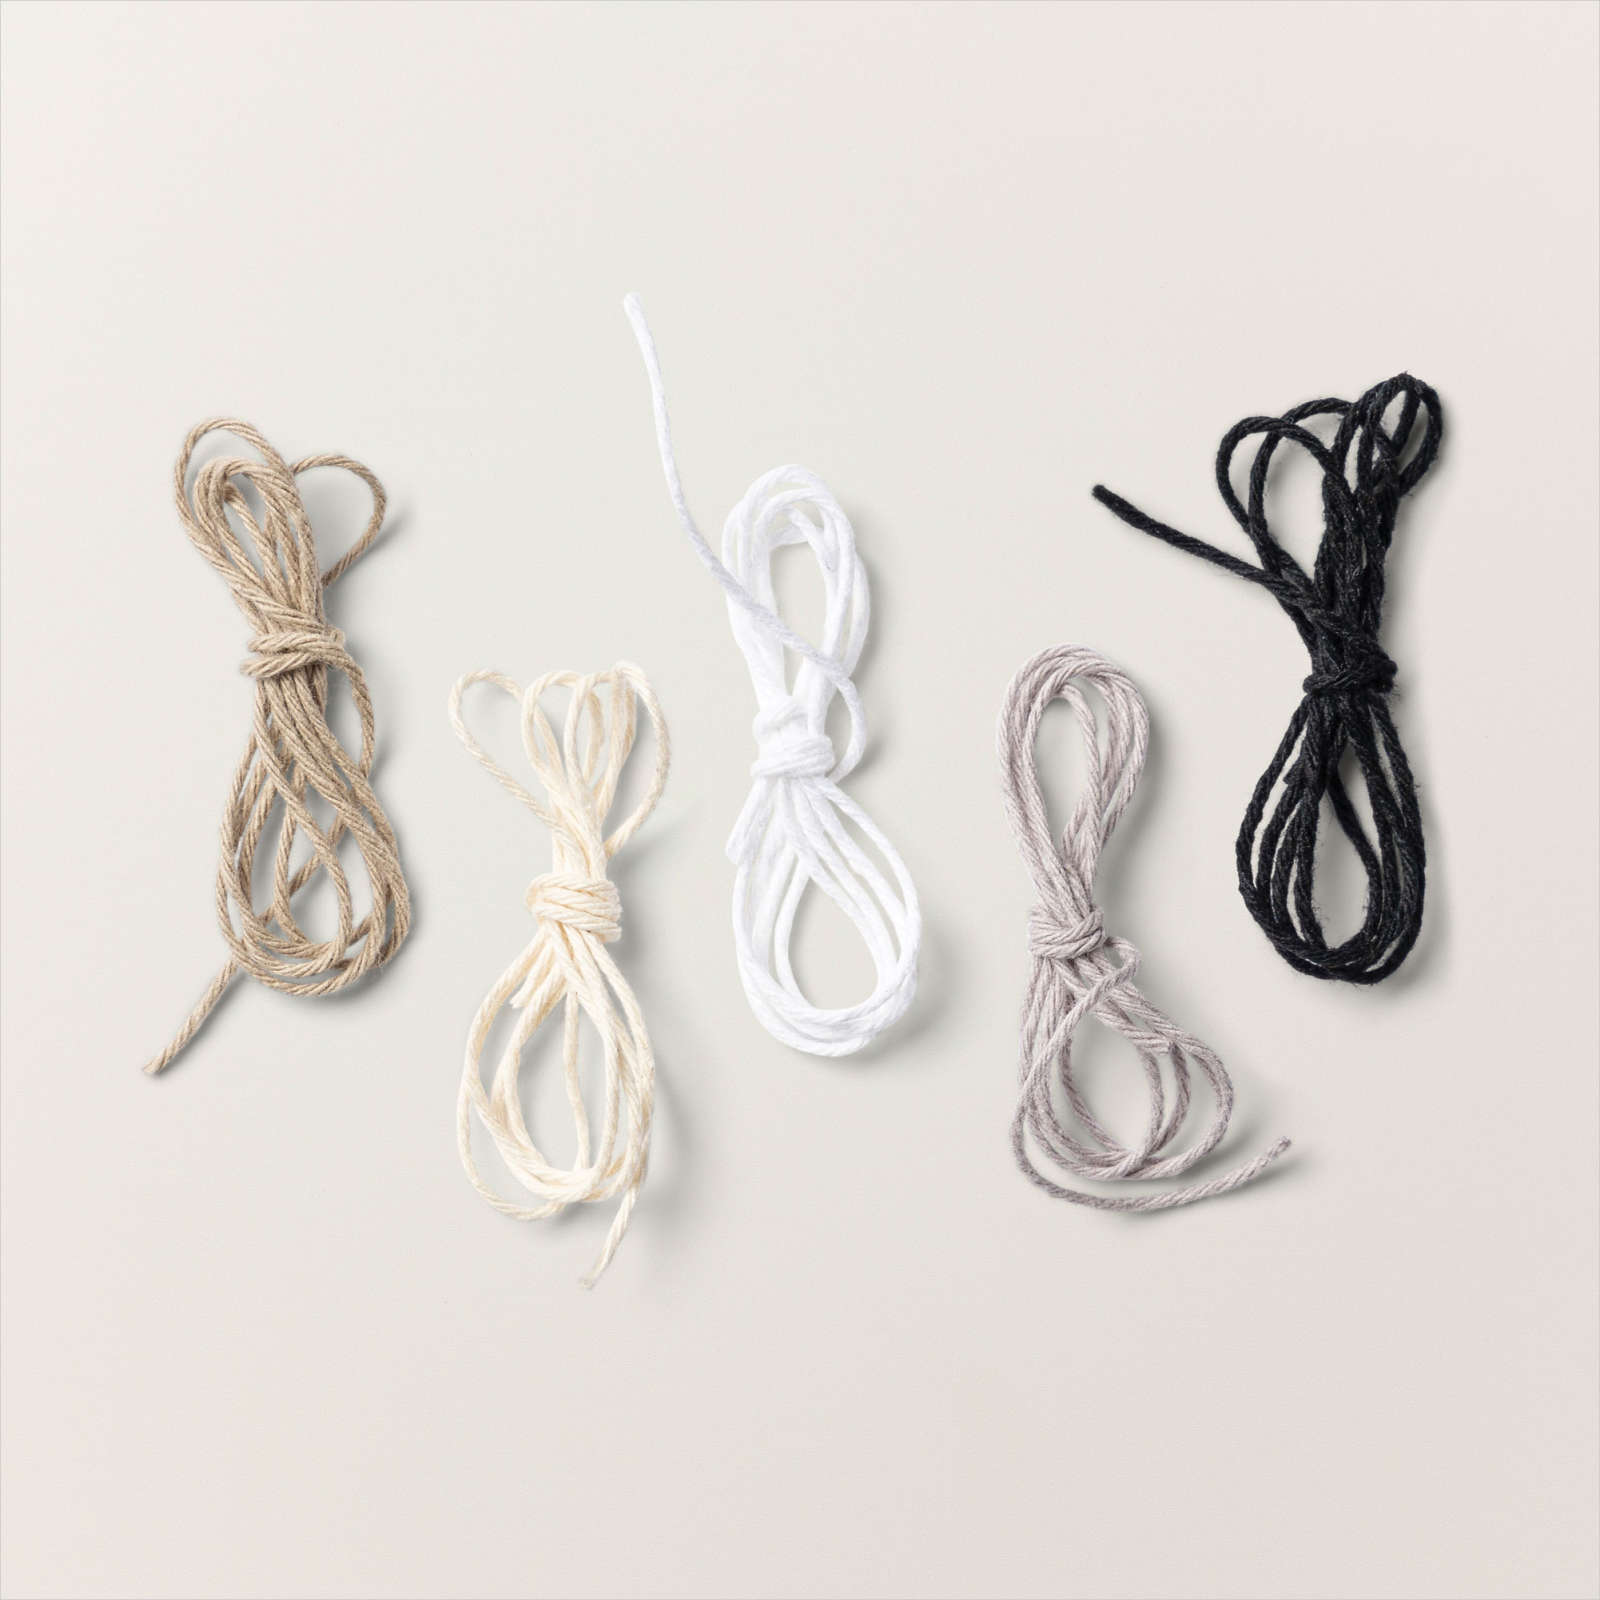
- Misc. – Decorative Trees Dies; Greetings of the Season Dies; Dimensionals; Bone Folder; Multipurpose Liquid Glue; Stampin’ Cut & Emboss Machine; Paper Trimmer; Paper Snips; Bakers Twine Essentials Pack (White); Snowflake Sky 3D Embossing Folder; 2024 – 2026 In Color Glimmer Paper; Gold & Silver 1/8” Trim Combo (gold), candy for filler
Measurements:
- Basic White: 4” x 2”, scrap for sentiment
- Peach Pie Glimmer Paper: 2 ½” x 3 ½”
- Shaded Spruce: 7 ½” x 2 ½”, 8 ½” x 4”
- White Bakers Twine: 3”
- Gold Ribbon: 5”
Instructions:
- Create the simple open topped box by scoring the 7 ½” x 2 ½” piece of Shaded Spruce card stock at 1” on the short side and at 2 ½”, 3 ½, 6” and 7” on the long side. Refer to diagram and cut on the solid lines to create flaps for the bottom of the box. Use bone folder to press each fold (scored line). Add multi-purpose liquid glue to the ½” tab on the side of the box and adhere to opposite end. Fold bottom side tabs into the box and add glue to the final tab to secure the bottom of the box. For best results, box should sit flat on table top with square sides.
- Use the large tag die from the Greetings of the Seasons Dies to create two Shaded Spruce tags. Die cut the large 6 sided shape from the same set of dies in Basic White. Emboss this piece with the Snowflake Sky 3D Embossing Folder. Adhere this piece to the front of one of the tags – line up the holes in each die so they match up.
- Die cut a plaid tree using the die from Decorative Trees and remaining Shaded Spruce card stock. Die cut the tree shape and a star from the Peach Pie Glimmer Paper. Adhere the plaid die cut to the glimmer tree with multi-purpose liquid glue. Adhere star to the top of the tree with a dimensional.
- Adhere tags to the box created in step 1. For best results, add glue to the front and back of the box (rather than the tag). With the box upright on the table, adhere the tags to the box. Holes in the two tags should line up at the top. Adhere the tree shape to the front with dimensionals.
- Stamp greeting on a scrap of Basic White card stock with Shaded Spruce ink and die cut with a tag shape from the Greetings of the Season dies. Add white bakers twine and adhere to tree front with dimensionals.
- Insert candy into box and loop gold ribbon thru the tag holes.
To order any of the supplies I used, click on the icons below:


Leave a Reply